
Estimated reading time: 8 minutes
Hopefully, you would have chosen your precious new wall art, and I will be glad to know if my other blog post, “The Ultimate Guide to Choosing the Perfect Wall Art for Your Home” would have helped you in any regard.
We all know that choosing wall art is not a piece of cake. The task swallows a lot of our time, energy, and resources so we should learn how to clean a photo or related artwork to take good care of our wall art. Contrarily, I have observed that many people forget about their wall once they have chosen it, and pay no attention to its cleaning, and maintenance. As a result, their precious wall art lives a short life.
To enjoy your wall art in the long run or to keep its value, it is important to take care of it. However, if you have chosen my photographs for wall art, let me inform you that I work with really premium, museum-quality materials with the highest archival standards. Some of the materials can keep color from fading for 80 years in the right storage circumstances.
I have also observed that the majority of people have no idea how to clean a photo. They make mistakes while taking care of their wall art. Resultantly, the colors of the arts on their walls fade away within years. Since I know the sweat of money, time, and effort, I have compiled a list of mistakes that you should avoid when taking care of your wall art. Avoid these mistakes, and your wall art will remain intact longer for decades.
1. Placing the art in direct sunlight for a long time
You would surely have seen many billboard ads of different brands displayed at roadside hoardings. You would also have noticed that the colors of these ads fade away if they remained there for a few weeks. The reason is that they face direct sunlight which wipes shine and colors off their surfaces.
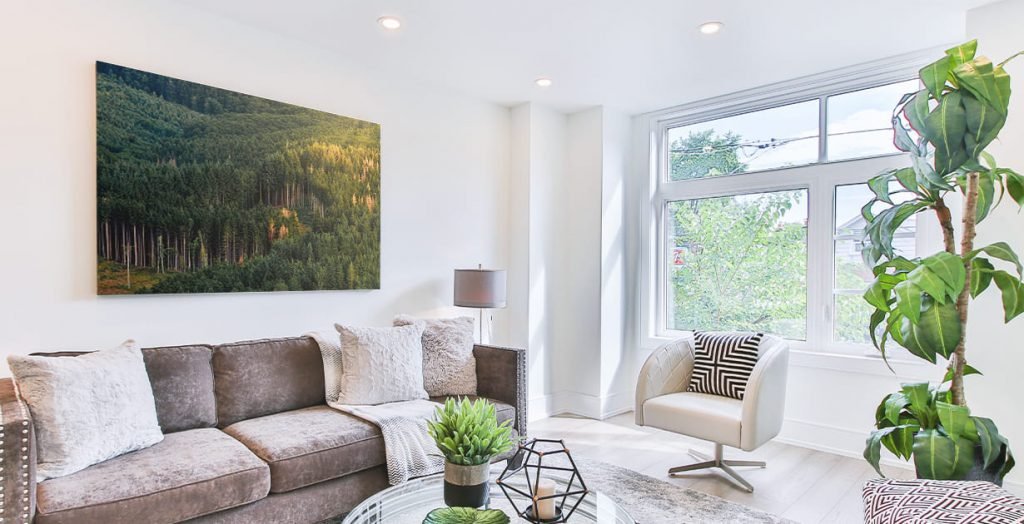
The same is the case with wall arts. If you keep them exposed to direct sunlight, their colors will gradually grow faint and disappear after some years.
This mistake of keeping art to face direct sunlight constantly is one of the most common mistakes almost every homeowner with a wall art commits. So, you should be in the queue of such people, if you want to keep your wall art in original condition.
2. Placing the wall art in moisture conditions/rooms without a glass
Many homeowners don’t like their wall art to be covered with glass. Some of them deliberately leave the glass cover to save a few bucks. Others do this because they know that the canvas prints cannot be covered with glass.
Please remember that if your wall art doesn’t have a glass on it, nothing protects it from moisture. However, you can keep wall arts with no glass on them in good condition by placing them away from the moisture conditions. Place them anywhere in your home, but NOT in the bathroom or kitchen as humidity levels in these areas usually are higher than in other parts of the house.
Moreover, you should also remember that canvas and glass cover cannot go along – canvas needs to breathe. So, never use glass above the canvas. Instead, keep it in dry conditions. Humid areas with high humidity levels will form mold on canvas and will destroy it.
3. Using a hard-tip feather duster
I have heard of some people who complained that their wall art started falling off even when they had been dusting and cleaning it on a daily basis. When I asked about their dust routing and the material they use for this purpose, I came to learn that they don’t know how to clean a photo or other artwork. They had been scratching the surface of their wall art instead of cleaning it.
Got my point? No? Well, they have been using a hard-tip feather duster to wipe away the dust and debris from the surface of their wall art. In simple words, they scratch the surface of artworks that cannot be reversed.
Please note that dusting is a must to maintain the quality of your wall art as when the dust builds up, it gets humid over time and causes grave damages to the artwork. However, using a hard-tip feather duster to perform this job produces opposite results.
So, never make this mistake and bury your artwork with your own hands. Always use a duster with soft tips to clean the dust. The ideal material for cleaning the wall art is cotton; it clears the dust in detail and doesn’t damage the surface or colors.
4. Using regular, normal detergents, sprays, magical whatevers
If you see an artwork at your friend’s place or anywhere else with faded colors, please ask them what cleaning material they use to clean them. I bet they will be using any regular detergent, spray, powder, or soap bought from a random store.
Such materials cause irreversible damage to artworks; their colors fade off, and they lose their originality. So, whenever you need to clean your artwork, I will advise you to use a material with low pH levels. Also, make sure you are not using anything that contains alcohol, otherwise, your artwork will lose all its beauty. If you ask for one product, I will recommend buying an olive oil-based soap from a popular store for cleaning your artwork.
5. Rubbing it hard with rags
Using hard rags for cleaning artwork brings about the same results as dusting it with a hard-tip duster. They both make scratches on the surface. So, never use a hard rag unless you want to engrave scratches on purpose to create an art of your own.
Instead, use cotton damp to blot your wall art. The results will be instant, all the dust will be cleaned if it has not piled up for years.
6. Leaning stuff near or exactly on them
Another major mistake most people usually make is to lean artworks against materials they believe are soft and safe. Please don’t lean anything (broom, ladder, laths, etc.) close to your wall art. It can fall onto them and scratch the surface.
Also, don’t lean your canvases or other artwork on anything other than a wall or cardboard. Any other thing put under them will damage your artwork in the long run.
7. Not tightening your canvas if you own one
Since canvas is a woven fabric so it loosens a bit over time. If you see that the surface of your nature wall art printed on canvas is a little wavy, you need to stretch it.
To do that you need to take it off the wall, turn it to access the back. Use a small hammer without touching the canvas itself and gently hit the top of the wedges in the corners. First diagonally two, then the other two. You should always turn the frame 90 degrees so the wedge stretches the side slat on the table.

After tightening a wedge, pay attention to what changed and stretch it just enough to have a beautiful, smooth front.
ATTENTION: handle the hammer very carefully and don’t stretch too much since the canvas may tear.
7+1 Not taking care of it all
Dust, debris, humidity, moisture, and related things are very harmful to photos and other artworks. So, cleaning them is very important. I’m not saying that you should clean it every single week but pay attention. It literally takes just a few minutes but rewards you for years. Similarly, learning how to clean a photo is equally important as wrong ways of cleaning can destroy the artwork.
What to do instead?
Instead of cleaning paintings, photos, and other artwork now and then, all you should do is to use a very soft brush to wipe off dust every time you do a detailed cleaning of your house. This can be done every week, every month, or even on a quarterly basis.
However, if you are feeling uncomfortable or noticing serious dirt, you should contact local professionals who specialize in taking care of art. After all, it’s always better to spend a few bucks to save hundreds and thousands.
Disclaimer: I have compiled this guide in good faith to let the art lovers clean paintings, photos, and other artworks in the most sustainable way. Being an artist, I cannot see precious art being destroyed at the hands of dust or the wrong ways of cleaning. However, I take no responsibility for these tips because I’m not aware of the quality and nature of art hanging in your home.
Do you have a tip? Share it with me via email or through social media.